The variety or amount of apple you want to use can be as flexible as you like depending on personal preference. In fact, experimenting with different apples when baking a pie may result in some interesting discoveries from a taste perspective.
Assessing the damage
Many of the apples I had received were bruised. They also had other exterior damage to them like bite marks from wild animals (presumably). Although, this didn’t matter much. This is because I was already planning on:
- chopping
- quartering
- coring
- peeling
Any flaws can simply be cut out with a knife so there is no real harm.
Avoiding dryness
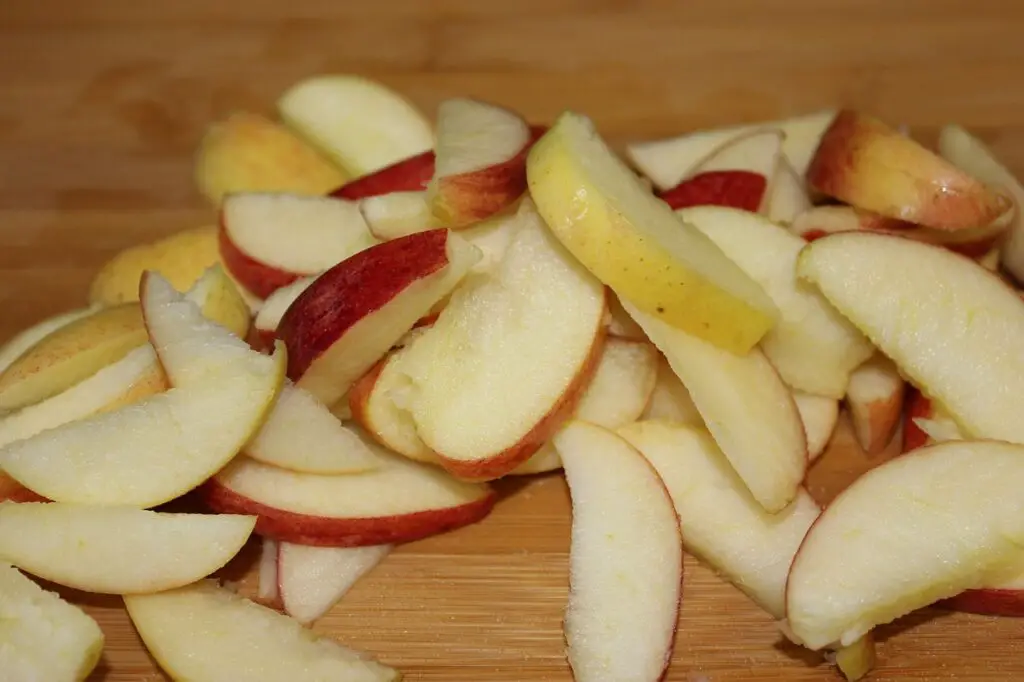
I made sure to remove the flaws before cutting up the apple pieces into thin strips . This would be about half a centimetre in thickness. I then placed the chopped apple into a large bowl full of water so that they wouldn’t dry up and turn brown. This gave me the needed leeway to attend to the rest of the recipe.
Mixing the dough
I could now begin making the pastry. The first task was to mix the sugar and butter together. Alternatively, I chose to use margarine instead as this is all I had left and it is also cheaper. I used an electric stand mixer to do the mixing but you can easily do this by hand with a whisk.
After this, I gradually added the eggs, mixed some more and then added the flour. I changed the attachment on my mixer to a sturdier dough hook. This felt right seeing as the whole thing was going to become a lot thicker and mixed once more.
Refrigeration
From this, I was left with a thick ball of dough that I then refrigerated for an hour. You don’t necessarily have to take this step Although, leaving it in the fridge for a while will make the pastry a bit more pliable and easier to work with later on.
Creating the filling
In the meantime, I would go on to finish making the filling. This is done by mixing together:
- flour
- sugar
- nutmeg
- cinnamon
I took the apples out of the water-filled bowl after draining and stirred them together with the rest of the mixture.
My electric mixer made life a lot easier for me with this recipe (reducing the amount of elbow grease required). Most of the hard work and aggravation here involved cutting up the apples and throwing away:
- cores
- seeds
- skin
- whatever else I didn’t want
Do you know of any other ways of preventing apples from turning brown? How good are you at making pastry?
Related Posts:
Baking Apple Pie Part 3:
Baking Apple Pie Part 4:
Baking Apple Pie Part 1: Choosing A Variety Of Apples
Simple Baking Recipes With A Few Cheap Ingredients Part 1
Simple Baking Recipes With A Few Cheap Ingredients Part 2
Sick Of Grocery Shopping? Grow Your Own Food & Save Money!
44 Great Gardening Tips For Growing Succulent Fruit & Vegetables
Cheap Dried Rice vs Quick & Easy Microwaveable Rice
